How to Stay Safe While Solo Hiking
I constantly get asked the question, “Is it safe to hike alone?” after I post pictures or videos from a solo hiking trip. Even though I always respond with yes, it is a valid question. Hiking can be dangerous, and even more dangerous when you do it solo.
Although solo hiking is inherently more risky than hiking with a group, there are ways to do it safely. The most important thing is having a downloaded trail map and a phone with a GPS signal. However, sharing your itinerary with others and researching trail conditions are also necessary for safe solo hiking.
In this article, I will debunk the myth that only insane people solo hike. I will share ten solo hiking tips that have kept me safe after solo hiking hundreds of trails worldwide.
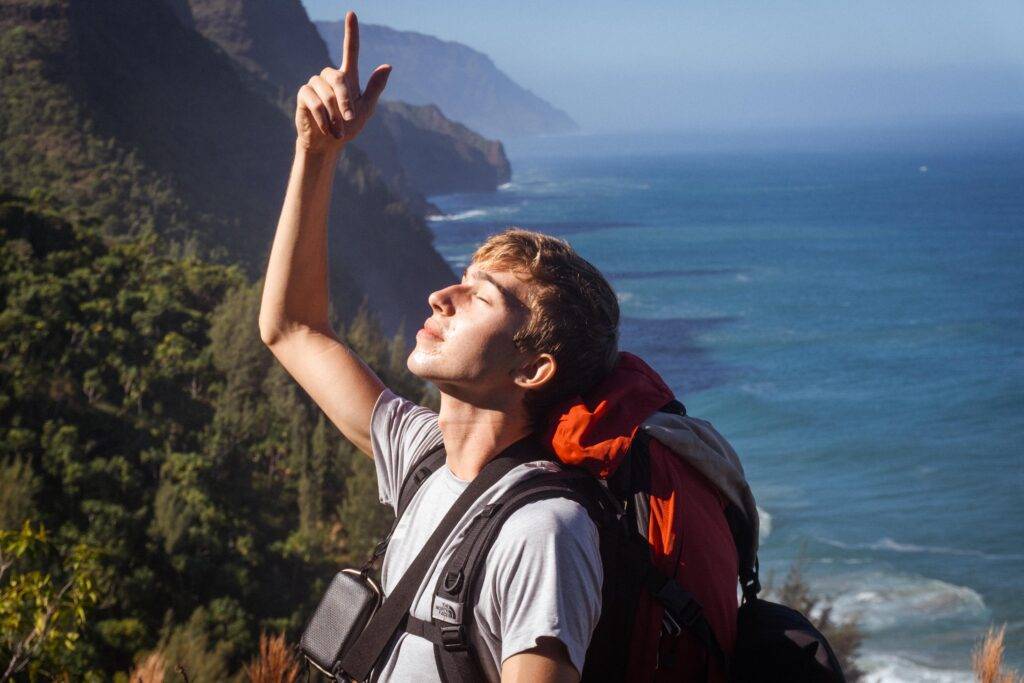
Hi, I am Noah takes the world. I love solo traveling. Planning a solo trip can be stressful with endless scrolling and searching.
My mission is to make your solo trip a reality.
Subscribe to my monthly newsletter—stunning photos and stories to guide your solo trip
This post may have affiliate links. I receive a small percentage if you book a hostel or attraction through my recommended links. This is at no extra cost to you and helps me reach my goal of becoming a full-time digital nomad.
Table of Contents
- So… Is It Safe to Hike Alone?
- 1. Research Your Hike and Find the Most Up-To-Date Information
- 2. Be Flexible With Your Plans
- 3. Let One Bad Mistake Be the Only One You Make
- 4. Get All Trails Pro
- 5. Share Your Itinerary With Someone
- 6. Solo Hike on Popular Trails
- 7. Practice Hiking With Friends First
- 8. Pack Lots of Water
- 9. Purchase Bear Spray
- 10. Hike for Yourself, Not Social Media
- Go Out and Solo Hike
So… Is It Safe to Hike Alone?
Yes, Mom. It is safe to hike alone! There is an assumption that solo hiking is a risky activity. If you solo hike, your picture will end up on the news with the banner “Local Hiker Disappears on Trail.”
Although those stories are real and do happen, they do not adequately represent solo hikers. I say this as a white male who has less to worry about than female hikers, but solo hiking is safe—if you make it safe.
After solo hiking hundreds of miles from the Rockies to the Japanese Alps, here are ten ways I have stayed safe while on a solo hike.
1. Research Your Hike and Find the Most Up-To-Date Information
Research. Research. Research. If you want to become an avid solo hiker, you need to get used to spending hours online reviewing blogs and travel guides.
Luckily, there is an app that is perfect for researching hikes easily. All Trails is a great place to discover the best hiking trails and gauge how safe a particular trail is.
I like to read the newest reviews on a hike to understand the current conditions of a trail. When I neglect to do this, I find myself hiking in miles of snow or a maze of overgrown grass. Those were not fun experiences. Reading the All Trails reviews helps lessen the chance of embarking on a bad trail.
Not every trail has updated reviews. In that case, look for a hiking blog that covers the trail. You will have no trouble finding up-to-date information if it is a popular trail. However, less trafficked trails may only have outdated information.
Usually, this is not a problem. However, it can be… which leads me to my next tip.
2. Be Flexible With Your Plans
Flexibility is KEY to safe solo hiking. I wanted to hike near an active volcano in Japan. I did a lot of research online and found a route I wanted to take. Then, I hit the trail, and a portion of the trail was closed.
Read: How to Solo Hike Mt. Asama: One of Japan’s Most Active Volcanoes
No matter how hard you research, sometimes the internet is wrong. In my case, I had to change my plans when I came to the trail that closed due to increased volcanic activity.
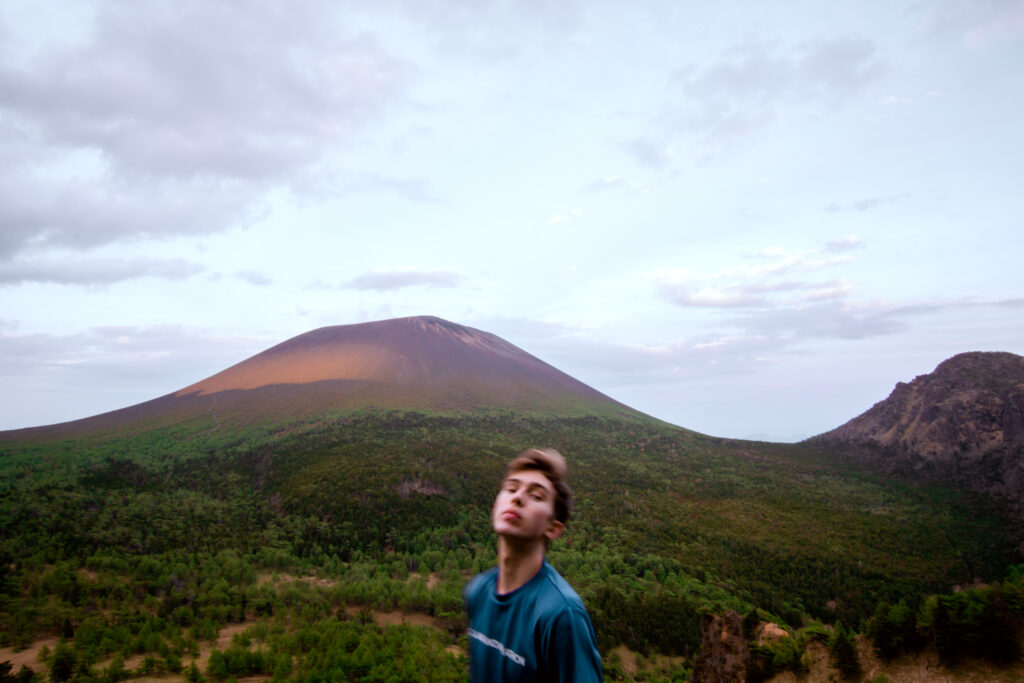
I did not want to change my plans. I really wanted to take the route I had planned. However, I realized safety was far more important than following through with my plans.
If you want to stay safe while solo hiking, be flexible! Change your plans to stay safe. Never embark on closed trails. If the weather is questionable, turn around and finish the hike later.
3. Let One Bad Mistake Be the Only One You Make
Let’s say you didn’t want to be flexible. You made the goal to conquer an entire trail, and even though the sun is setting, you want to finish the trail.
Next thing you know, it is pitch black, and you are going in circles on the trail and can’t find your way out.
You made a bad mistake. You should have turned back before dark. Now, it is crucial that you do not make any more bad mistakes.
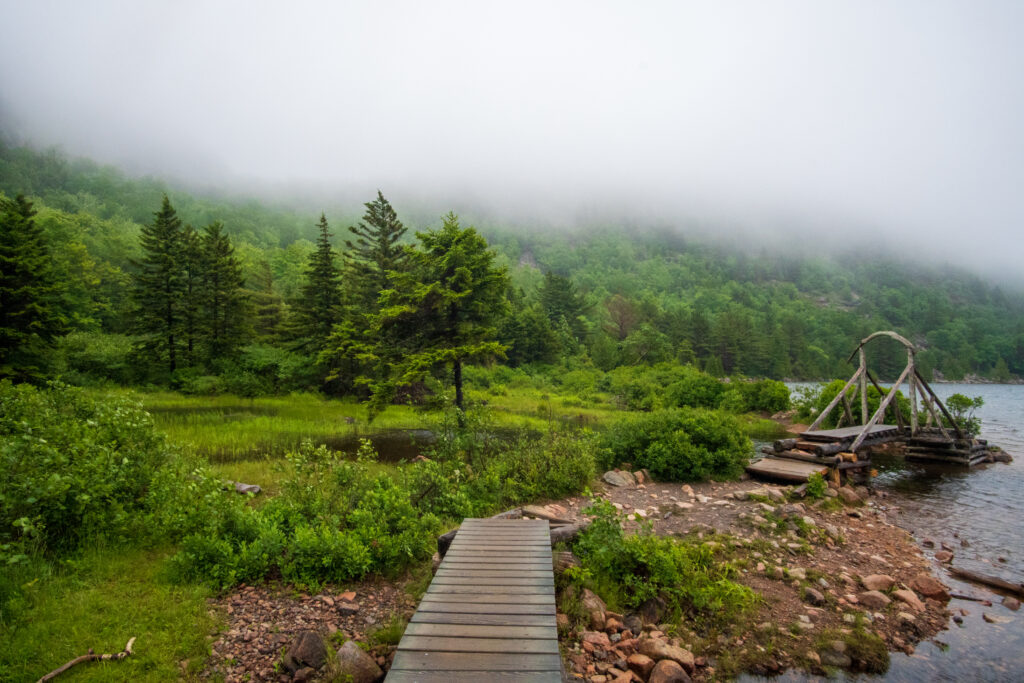
A Scary Solo Hike in Hawaii
This was the exact scenario I faced one night in Hawaii. I visited a trail in the mountains almost weekly for some trail running. However, on that particular day, I was actually determined to finish the entire trail.
I failed to realize how long and overgrown the trail was. I really had no idea how long the trail was. All I knew was that I wanted to finish it!
Read: Oahu Solo Hikes: 5 Trails That Are Perfect for Hawaii Solo Hiking
I reached the top of the mountain as the sun went down. Then, going back became a struggle. Suddenly, it was pitch black, and the trail was like a maze.
I came to the conclusion that I had to spend the night on the mountain because if I tried to head back, I would certainly get off the poorly marked trail. It would have been much worse if I got lost off the trail.
I made a bad decision to hike so late in the day. However, I made a good decision to wait on the mountain and not go off trail.
We all have moments of stupidity. We all make bad decisions. Solo hiking is dangerous when you allow yourself to make a series of bad decisions. A series of bad decisions is why solo hikers end up as headlines.
4. Get All Trails Pro
That morning I was able to find my way out of the dark jungle because of All Trails Pro. This hiking app has a feature that has kept me safe so many times while solo hiking and has ensured I stay on the correct trail.
With All Trails Pro, you can download trail maps to your phone. Once you reach the trailhead, you can begin tracking yourself on that downloaded map. You will see yourself as a red arrow and get alerts when you are off course.
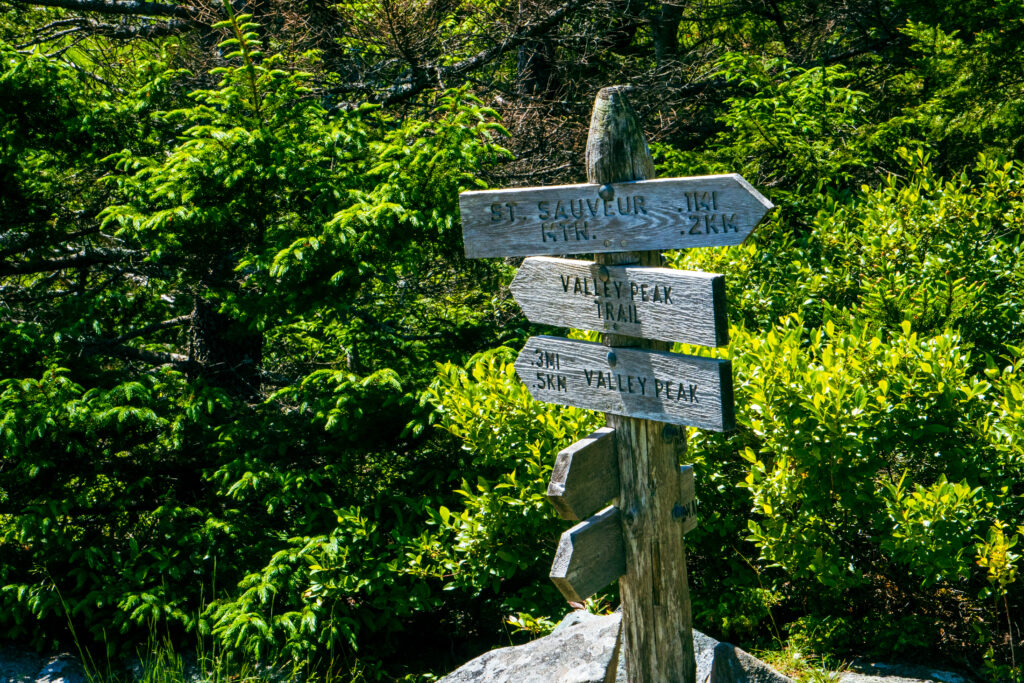
This tracking feature still works even if you do not have cell service. This feature saved me on my questionable trail in Hawaii. I could see my exact location and how far I was from the trail. Instead of depending on poorly placed trail markers, I could use my phone to guide me.
Usually, trails are marked fairly well, and I don’t get off course. However, having the downloaded All Trails Map is helpful when there is a fork in the trail and you’re unsure which way to go.
It is also beneficial for gauging the length of the trail. You are exhausted and see on All Trails that you haven’t even completed half of the trail. Maybe, you should head back.
This app has literally saved me countless times. It keeps you from getting lost, which is one of the biggest dangers of solo hiking. Just make sure to have a portable battery charger so your phone does not die.
5. Share Your Itinerary With Someone
I do not always do this, but I know I should. Before you hit a trail, let someone know where you are going and when you will return. This is important just in case something goes south.
No one knew I was on that mountain in Hawaii. None of my roommates knew where I was. After all, I didn’t tell anyone. And I had no cell service to alert anyone of my whereabouts.

No one would know where to send help if I were seriously injured. No one would know where to look for me.
It is scary to think about what could have gone wrong. You need to always share your hiking plans with someone just in case of an emergency.
6. Solo Hike on Popular Trails
I will keep referring to that horrible night hiking in Hawaii because it taught me so much about safe solo hiking. I loved that trail because it was so hidden and remote. Very few people ever went on that trail.
It is amazing to be alone in nature, but it is not the safest practice.
If you want to solo hike safely, you should find popular trails and stick to hiking those. Popular trails are easy to find and actually easier to find than most remote trails.
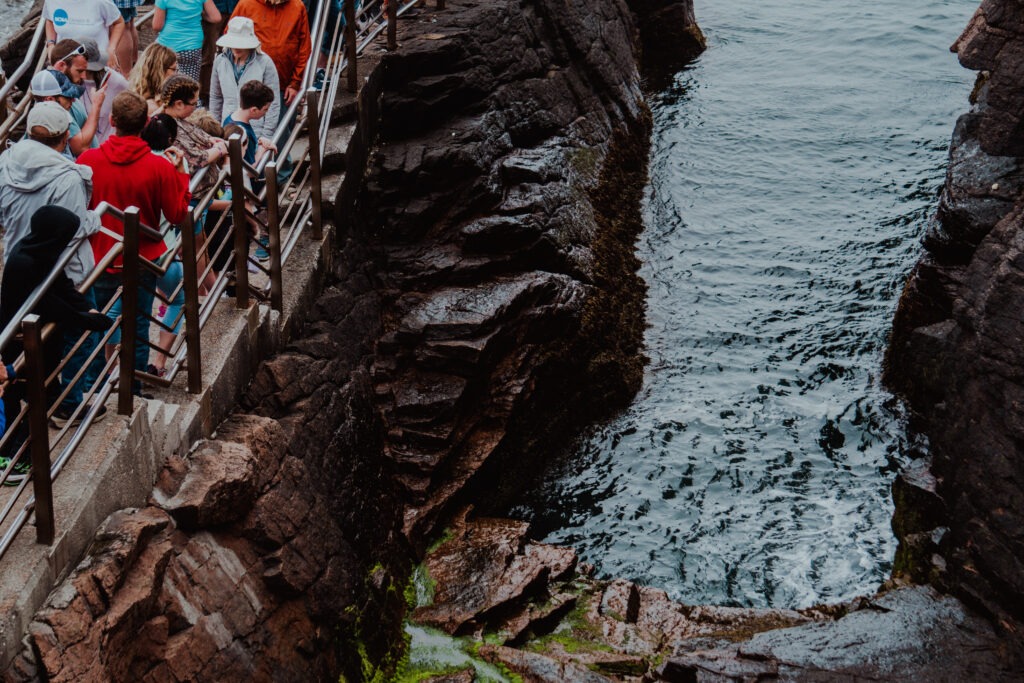
Popular trails are the ones that flood social media and are found all over the web. They attract many hikers, which can be annoying. However, they can keep you safe.
When other hikers surround you, there is less chance you will get lost and less chance of dangerous wildlife encounters. Generally, animals like bears are deterred by loud noises.
Use All Trails to Find Popular Hikes
In All Trails, you can sort trails by popularity. Search your desired hiking area and click “sort by most popular.” The first ones to pop up will most likely be heavily trafficked if it is peak hiking season.
Hiking on popular trails offers peace of mind when solo hiking. There is much less to fear when other fellow hikers constantly surround you.
It is not always ideal to be surrounded by people when solo hiking, but if you are new to solo hiking, build your skills on popular trails first.
7. Practice Hiking With Friends First
Building your hiking skills is essential for safe solo hiking. People might think I was always fearless and never afraid of hiking alone. However, that is entirely not the case.
I first really fell in love with hiking when I was a college student in Hawaii. It was so rewarding to spend the weekends in the mountains.
My friends would want to do challenging and somewhat dangerous hikes, and I was often terrified of those trails. They pushed me to do harder trails, and sometimes I hated them for it. Now, I am grateful for their extra push. It prepared me to be a strong solo hiker.
You can’t immediately go out and climb a difficult trail alone. You need to build up your hiking skills and confidence.
It took me years of hiking with friends to finally go on a challenging solo hike. If I had done that trail without that experience hiking with my friends, I would have been terrified for the entire climb.
I definitely prefer hiking alone now. I love being alone, surrounded by nature, and with the freedom to go at my own pace, but it took me a long time and a lot of practice with others to get to that point.
8. Pack Lots of Water
Sometimes, you use all your energy to find the best trail that you forget to pack properly. Every trail requires different items depending on the trail’s length and condition.
However, you always need to think about water! During one of my first solo trips, I entered Death Valley National Park, the hottest place on Earth, with only a few water bottles.
Most National Parks have water bottle stations where you can refill your water. I entered Death Valley and found my trail, but no running water was in sight.
I should have brought more water into the park and not depended on the chance of finding a water fountain. Let’s just say that hike was horrible, and I am lucky I did not pass out on the trail.
You can survive without bug spray or a granola bar, but you really need water. Always bring extra water and have a way to purify water when embarking on a long journey.
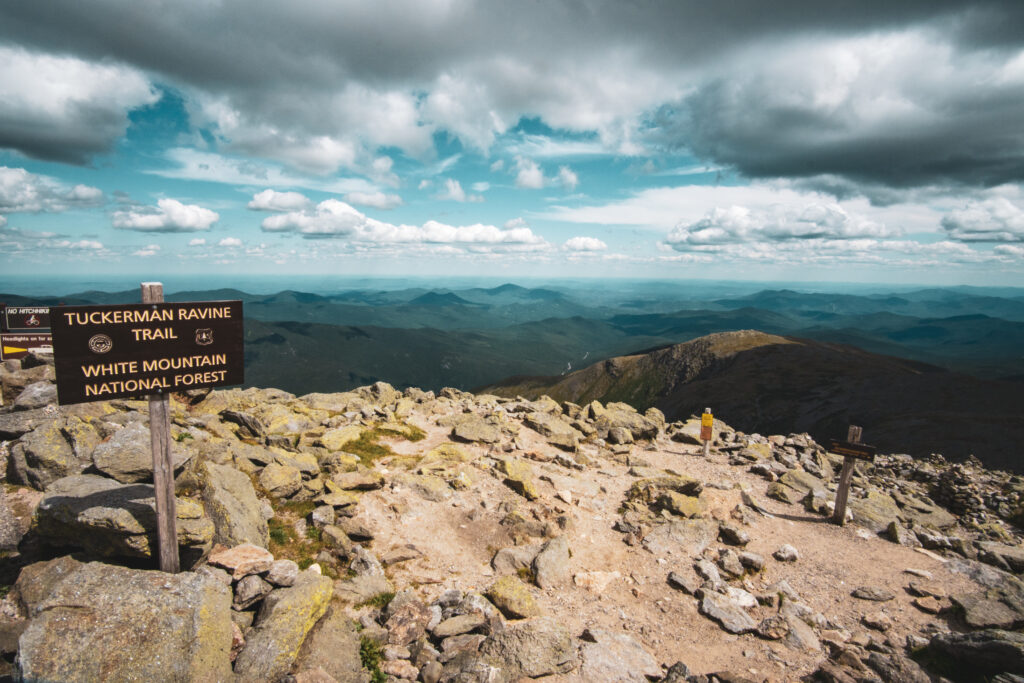
9. Purchase Bear Spray
Often the best solo hikes come with an unwanted companion: bears. Not every hike has bears, but unfortunately, some of the best hikes do. My favorite solo trip ever—Grand Teton National Park—was full of bears and signs that said: “DO NOT HIKE ALONE IN BEAR COUNTRY.”
I am not an expert on bear behavior, nor claim to know how to avoid a bear attack. However, there is an increased risk of running into a bear while you are alone on a trail.
Bears tend to stay away from noisy groups. If bears hear you coming down the trail, they will more likely leave the scene, keeping you from an unwanted bear encounter.
I knew this while solo hiking in the Tetons, so I blasted music from my phone to alert bears I was in the area. I am not claiming this is a good practice, but luckily I encountered no bears.
Bear Spray Offers Some Peace of Mind
I was still super scared, though. Mainly because I lacked bear spray; you use this when a bear charges at you and is being aggressive. It is not a preventive measure like making noise.
If you are solo hiking in bear country, especially grizzly bear country, you will want to read up on bear safety and invest in bear spray.
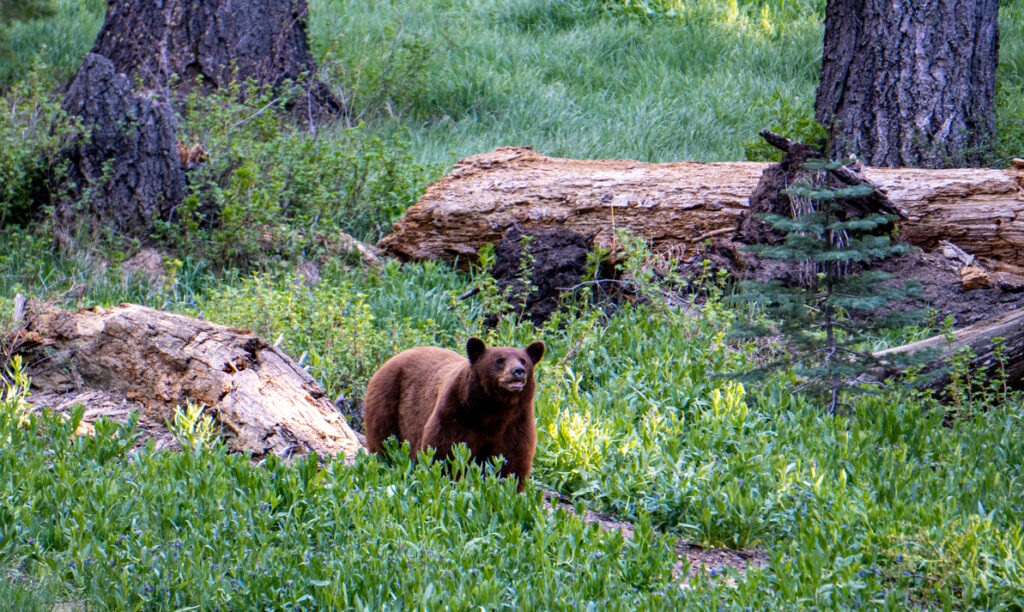
Possessing bear spray does not stop bear encounters, but it helps you feel less powerless if you do face a bear attack.
If all of this is too overwhelming, just stick to trails without bears for now. Or at least stick to more popular trails, where bear encounters are less likely.
10. Hike for Yourself, Not Social Media
Everyone can get hiking information through social media and apps like All Trails. It used to be that hiking information was passed around by word of mouth, but that meant only certain circles of people had the proper information.
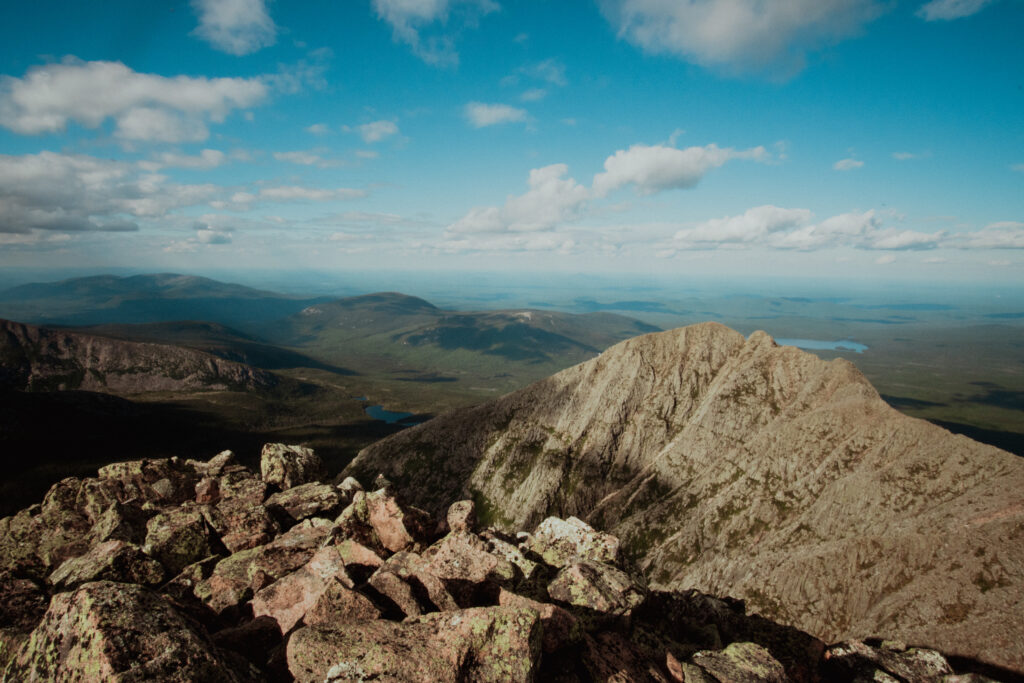
Now, there is less gatekeeping, and trails can become popular overnight. Although I am glad hiking is more accessible than ever, it is also the reason rescue missions are on the rise.
Social Media Encourages Risky Behavior
More people are entering trails unprepared. They are not motivated by being surrounded by nature. They are motivated by likes and story highlights.
I am not saying you can’t post on social media about your hike. I take a lot of photos while hiking so I can remember the beauty I saw.
However, social media motivates us to do things we would not normally do and to enter trails we are not properly prepared for.
You should be motivated to solo hike because you want a challenge and want to experience being alone in nature. Don’t solo hike just to appease an online audience. Don’t put yourself at risk for Instagram.
Go Out and Solo Hike
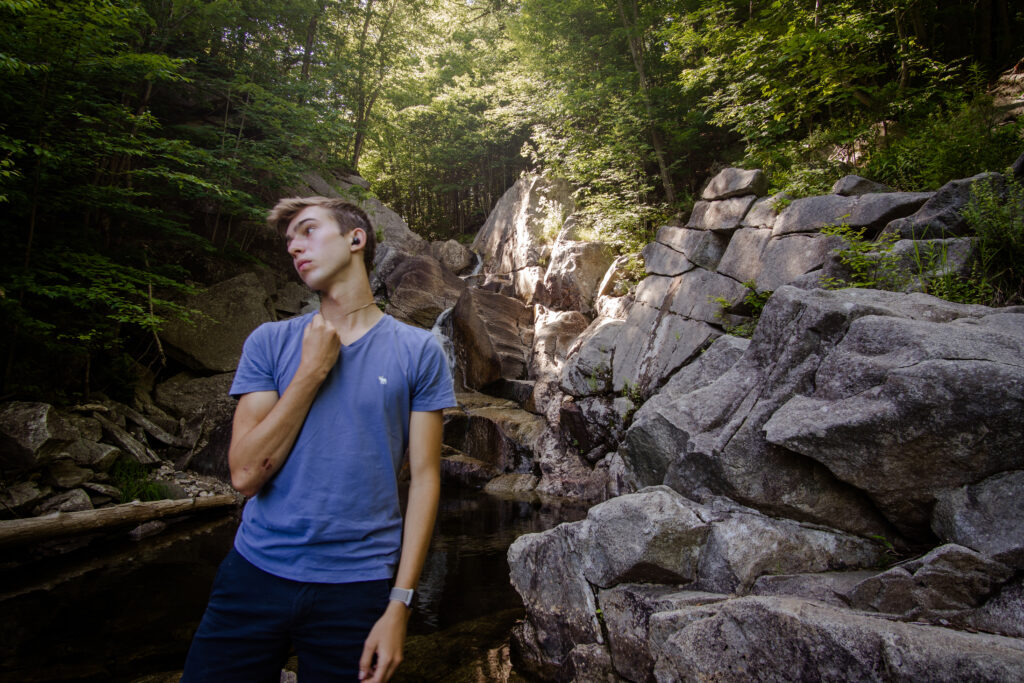
Solo hiking seems scary initially, but with practice, it is one of the most healing and rewarding activities. Observing nature without any distractions while testing your physical stamina brings joy, confidence, and clarity.
Now that you know hiking alone is safe, read about my favorite solo hiking trails and start planning your solo hiking trip!
